Affiliate Disclosure: EntrywayConsoleTable is reader-supported. When you buy through links on this site, we may earn a small commission at no extra cost to you.
Why Assembly Matters
A poorly assembled console table wobbles, looks unprofessional, and may become unsafe. A properly assembled one looks like a custom piece and lasts for years.
This helpful guide walks you through every step of console table assembly, from unboxing to final placement, ensuring professional results every time.
Before You Start: Preparation
Tools You’ll Need
Usually included with the table:
- Allen wrench (hex key)
- Phillips head screwdriver (sometimes)
- Basic hardware
Recommended additions:
- Power drill with Phillips bit
- Rubber mallet
- Level (4-foot preferred)
- Measuring tape
- Soft work surface (cardboard, moving blanket)
- Painter’s tape
- Small bowls for hardware
Workspace Setup
- Clear a large area: You’ll need space equal to twice the table’s footprint
- Protect your floor: Use cardboard, carpet, or moving blankets
- Ensure good lighting: Overhead lights plus a work lamp if possible
- Gather all parts: Inventory everything before starting
- Read instructions fully: Understand the entire process first
Step-by-Step Assembly Process
Step 1: Unboxing and Inventory
- Open the box carefully to avoid damaging contents
- Remove all parts and hardware
- Compare parts list to inventory
- Inspect for damage or defects
- Organize hardware by type and size
- Keep packaging until assembly is complete
Pro tip: Take a photo of all parts laid out before starting. This helps if you need to contact customer support.
Step 2: Sort and Organize Hardware
- Separate screws by size and type
- Group washers, nuts, and bolts
- Use small bowls or egg cartons to keep organized
- Label groups if instructions use part numbers
- Count to ensure all hardware is present
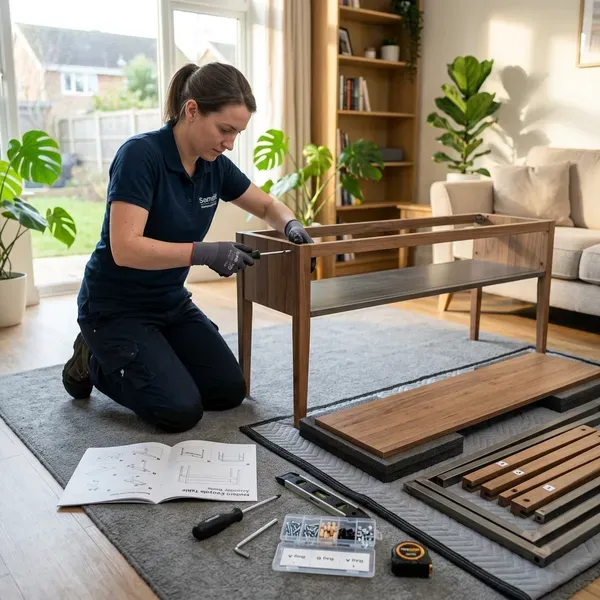
Step 3: Assemble the Frame
- Identify frame pieces: Usually sides, top supports, and crossbars
- Start with one side: Attach vertical supports to one side panel
- Add crossbars: Connect crossbars to create the frame skeleton
- Attach second side: Complete the frame by connecting the other side
- Check alignment: Ensure all joints are square and flush
Common mistake: Over-tightening screws before all pieces are connected. This causes misalignment.
Step 4: Install shelves and Drawers
- Shelves: Place shelf supports at desired heights, then set shelves
- Drawer slides: Mount slides to frame first, then to drawer boxes
- Drawers: Insert drawers into slides, test operation
- Adjustment: Fine-tune shelf heights and drawer alignment
Step 5: Final Tightening and Adjustment
- Hand-tighten first: Ensure all screws are started but not tight
- Check squareness: Measure diagonals—should be equal
- Tighten systematically: Work in a star pattern, tightening gradually
- Check level: Place level on top surface
- Adjust feet: Use adjustable feet to level on uneven floors
Step 6: Placement and Final Check
- Move to position: Enlist help for heavy tables
- Level again: Check with level in final position
- Test stability: Press on all corners—should not wobble
- Test drawers/shelves: Ensure smooth operation
- Clean up: Remove protective packaging and clean surface
Assembly Tips by Table Type
Basic Console Tables (No Storage)
Assembly time: 10-20 minutes Difficulty: Easy Key steps: Frame assembly, shelf installation (if applicable)
Console Tables with Drawers
Assembly time: 25-45 minutes Difficulty: Medium Key steps: Frame assembly, drawer slide mounting, drawer box assembly
Console Tables with Cabinets
Assembly time: 30-60 minutes Difficulty: Medium-Hard Key steps: Frame assembly, door hinge installation, shelf adjustment
Large/Premium Console Tables
Assembly time: 45-90 minutes Difficulty: Hard (two-person recommended) Key steps: Complex frame assembly, multiple component installation
Common Assembly Mistakes and Solutions
Problem: Table Wobbles
Causes: Uneven floor, loose screws, uneven legs Solutions:
- Tighten all screws
- Use adjustable feet to level
- Check for damaged or bent parts
- Ensure all joints are fully seated
Problem: Drawers Don’t Slide Smoothly
Causes: Misaligned slides, debris in tracks, over-tightened screws Solutions:
- Loosen slide mounting screws slightly
- Clean tracks with damp cloth
- Adjust slide alignment
- Apply silicone lubricant (not WD-40)
Problem: Shelves Sag
Causes: Overloaded shelves, missing supports, weak materials Solutions:
- Reduce weight on shelves
- Add center support if available
- Distribute weight evenly
- Contact manufacturer if under warranty
Problem: Surface Scratched During Assembly
Causes: Working on hard surface, metal tools contacting finish Solutions:
- Use soft work surface
- Apply painter’s tape to protect surfaces
- Work carefully with metal tools
- Touch up with included finish kit (if provided)
Professional Assembly Services
When to Consider Professional Assembly
- Large or heavy console tables
- Complex designs with many components
- Limited time or physical ability
- No assembly experience
- Wanting guaranteed results
Cost of Professional Assembly
- Basic assembly: $50-75
- Complex assembly: $75-125
- White-glove delivery + assembly: $100-200
Where to Find Assembly Services
- Amazon Home Services: $50-100 for furniture assembly
- TaskRabbit: $40-80 for basic assembly
- Handyman services: $50-100 per hour
- Retailer services: Often available at purchase
Assembly Checklist
Before starting:
- All parts inventoried
- Hardware organized
- Workspace prepared
- Instructions reviewed
- Tools gathered
During assembly:
- Frame square and flush
- All screws hand-tightened first
- Drawers operate smoothly (if applicable)
- Shelves level and secure (if applicable)
After assembly:
- Table level and stable
- All hardware tight
- No wobble or movement
- Surface clean and undamaged
- Packaging disposed of properly
Final Recommendation
Most console tables can be assembled successfully by anyone comfortable with basic tools. Take your time, follow the instructions, and don’t rush the process.
Need help? Check our top 10 console table reviews where we rate each table’s assembly difficulty.